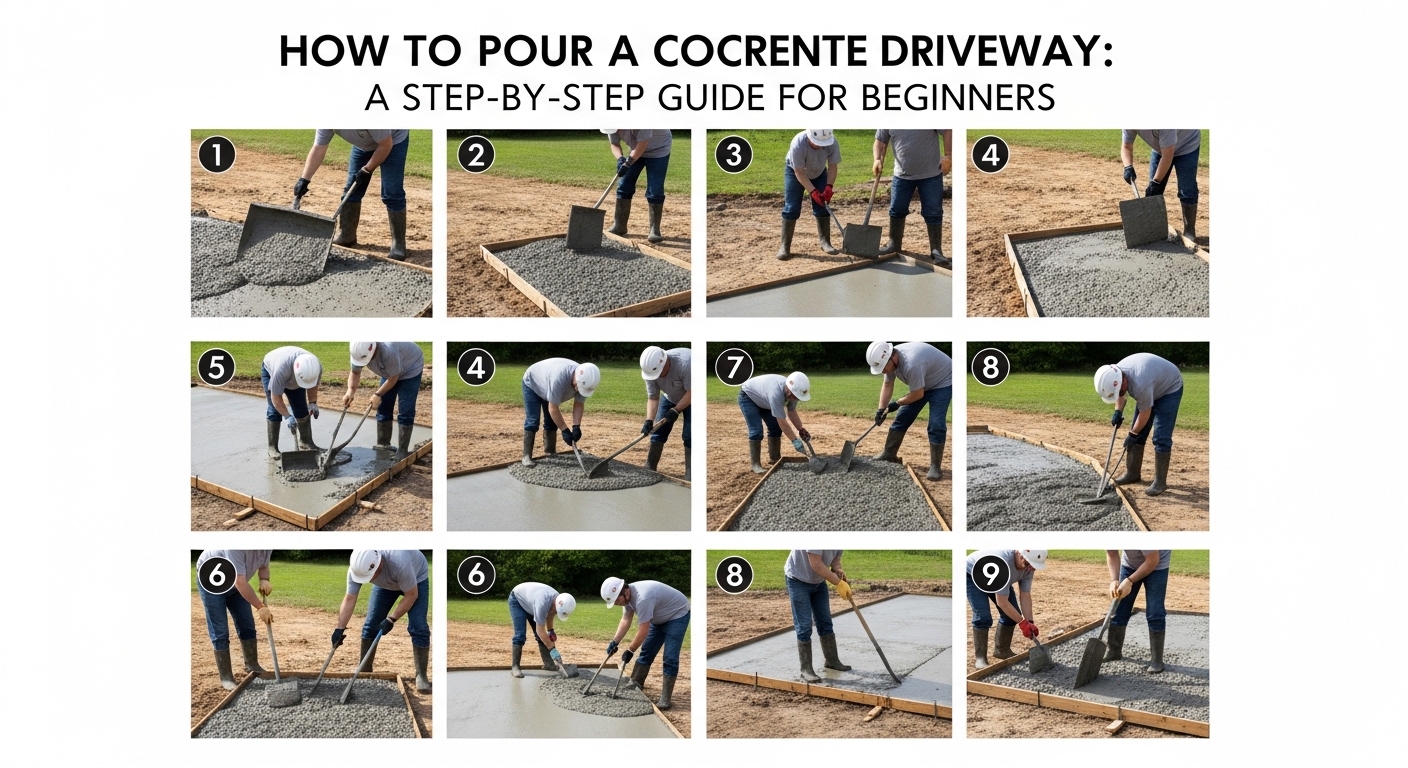
How to Pour a Concrete Driveway: A Step-by-Step Guide for Beginners
A concrete driveway is a significant investment that enhances both the curb appeal and the value of your home. While it is a labor-intensive project, pouring your own driveway is achievable for experienced DIYers.
This guide will take you through the entire process, from planning and site preparation to pouring, finishing, and curing, ensuring you get a durable, long-lasting surface.
1. Planning, Permits, and Preparation
Before buying materials, you must have a solid plan.
- Check Local Regulations: Contact your local municipality regarding permits and setback requirements.
- Call Before You Dig: Locate underground utility lines (gas, water, electric) to avoid dangerous accidents.
- Design and Slope: Design the driveway with a slope of at least 1/4 inch per foot away from your house to ensure proper water drainage.
2. Site Preparation and Excavation
A durable driveway relies on a solid foundation.
- Clear the Area: Remove existing asphalt, old concrete, or vegetation.
- Excavation: Excavate the area to a depth of 7 to 9 inches. This allows for 4 inches of compacted gravel base and 4-5 inches of concrete.
- Soil Compaction: Compact the soil thoroughly using a plate compactor. A soft subgrade will lead to cracking later.
3. Setting the Forms
Forms hold the concrete in place while it sets.
- Materials: Use 2×4 or 2×6 lumber for forms.
- Placement: Secure the forms using wooden stakes driven into the ground on the outside of the forms.
- Slope Check: Use a string line and level to verify the slope again before pouring.
4. The Gravel Base and Reinforcement
Do not skip this step!
- Gravel Base: Add 4 inches of compactable gravel (like road base) and compact it thoroughly. This prevents the concrete from settling unevenly.
- Reinforcement: Install wire mesh or rebar (reinforced steel bars) supported by chairs so they sit in the middle of the concrete slab, not on the ground.
[Image: Properly installed rebar grid inside wooden forms]
5. Mixing and Pouring Concrete
For a driveway, ordering ready-mix concrete is highly recommended over mixing it yourself.
- Ordering: Calculate the cubic yards needed: $\frac{\text{Length (ft)} \times \text{Width (ft)} \times \text{Depth (ft)}}{27}$.
- Pouring: Start at one end and work your way back, ensuring the concrete fills the corners of the forms.
- Vibrating: Use a concrete vibrator or tap the forms to remove air pockets.
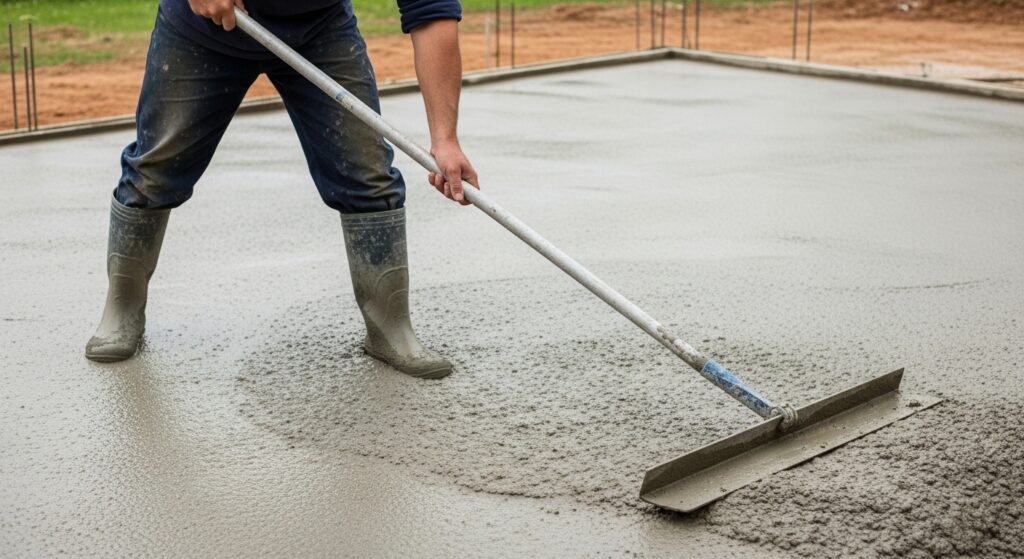
6. Screeding and Floating
Once the concrete is poured, it must be leveled and smoothed.
- Screeding: Use a straight 2×4 board (screed) to strike off the excess concrete, moving it back and forth in a sawing motion across the forms.
- Floating: Use a bull float to smooth the surface and push down the large aggregate, bringing the fine “cream” to the top.
7. Edging, Jointing, and Finishing
This gives the driveway its professional look and prevents uncontrolled cracking.
- Edging: Run an edging tool between the concrete and the form to create a rounded, durable edge.
- Control Joints: Cut control joints at least 1 inch deep to encourage cracks to form underneath, not on the surface. Space them every 8–10 feet.
- Finishing: Use a broom to create a slip-resistant texture on the surface.
8. Curing: The Final Step
Proper curing is vital for strength.
- Wait Time: Keep people and pets off the concrete for at least 24 hours.
- Moisture: Keep the concrete moist for 7 days by spraying it with water or using a curing compound.
- Driving: Do not drive heavy vehicles on the new driveway for at least 28 days.
