How to Repair Cracks in a Concrete Garage Floor
How to Repair Cracks in a Concrete Garage Floor: A cracked garage floor is not just an aesthetic issue; it can be a structural concern that allows moisture to seep in, leading to rust on tools, vehicles, or even damage to the foundation. Fortunately, repairing most cracks is a manageable DIY project if you have the right materials and follow a proper process.
This guide will walk you through identifying the type of crack, selecting the right filler, and executing the repair to achieve a long-lasting, durable result.
1. Assess the Damage: Is it Repairable?
Before buying materials, you need to determine the cause of the crack.
- Hairline Cracks: Usually caused by drying shrinkage. These are easy to fix with a simple filler.
- Structural Cracks: If the crack is wider than 1/4 inch, or if one side of the crack is higher than the other (settlement), it may indicate a serious foundation issue.
- Pro Tip: If a crack continues to grow, you may need a structural engineer rather than a DIY filler.
2. Tools and Materials Needed
Gather your tools before you start to ensure a seamless repair process.
- Materials: Concrete cleaner/degreaser, concrete crack filler (epoxy, polyurethane, or vinyl-based), concrete patch compound, painter’s tape.
- Tools: Wire brush, stiff broom, shop vacuum, hammer and chisel (or angle grinder with a diamond blade), caulk gun, putty knife/trowel.
3. Step-by-Step Repair Process
Step 1: Clean the Crack Thoroughly
The filler will not adhere to dirty or oily concrete.
- Use a wire brush to scrub the crack and remove loose concrete.
- Use a shop vacuum to remove all dust, dirt, and debris from deep within the crack.
- If the floor is oily, clean it with a concrete degreaser and let it dry completely.
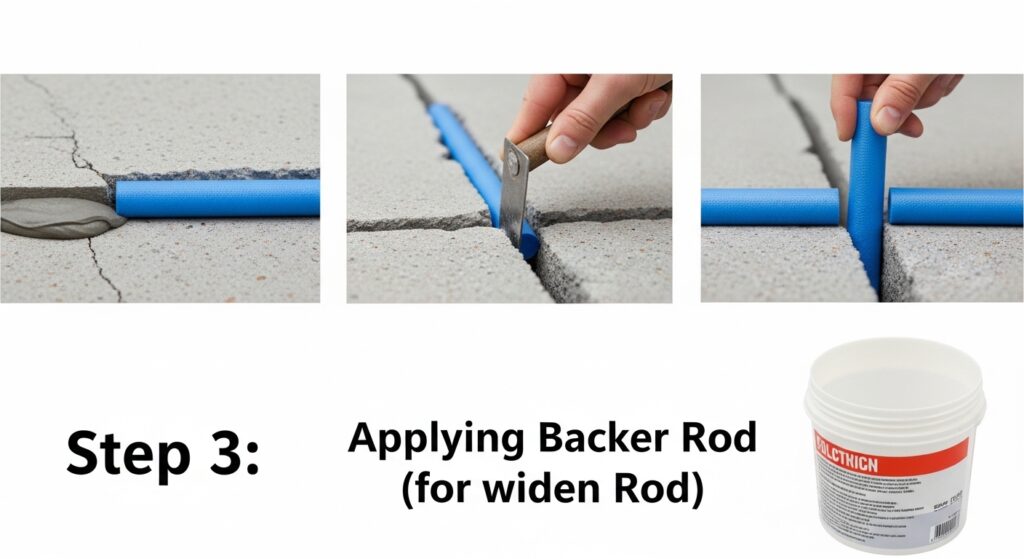
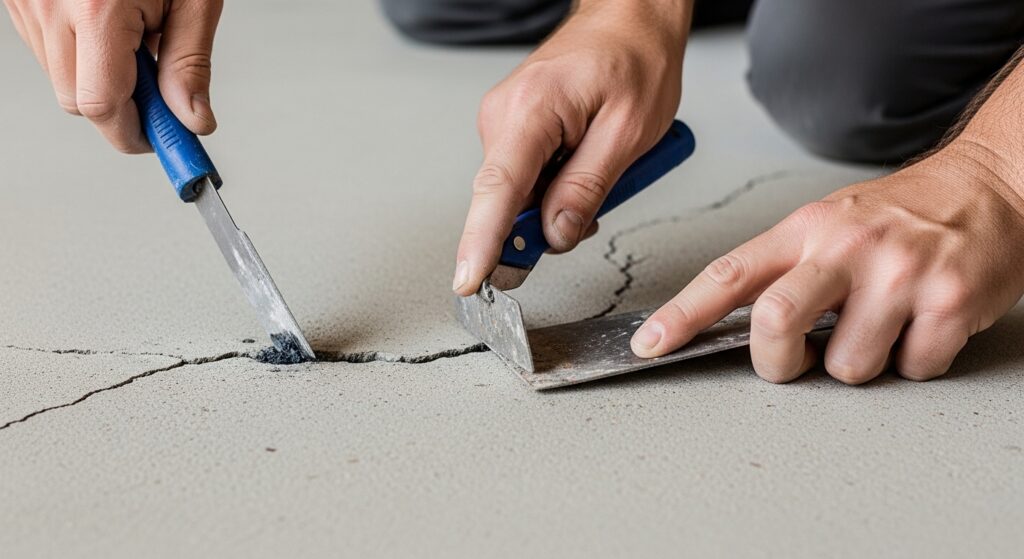
Step 2: Widen and Clean the Crack (V-Grooving)
To ensure the filler has enough surface area to bond, you need to widen the crack.
- Use a hammer and chisel (or an angle grinder) to turn the crack into a “V” shape. This allows the filler to lock into place.
- Vacuum the area again to remove all dust produced from chiseling.
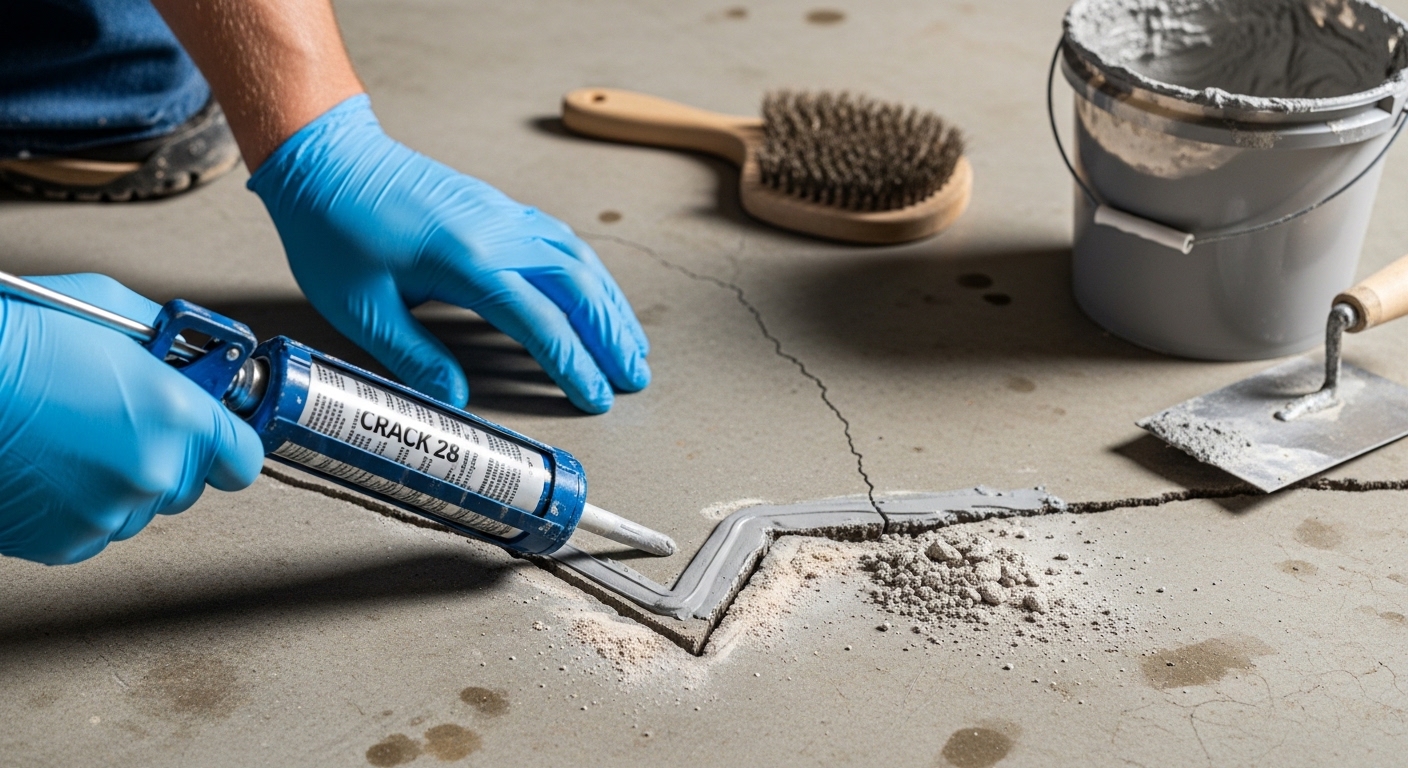
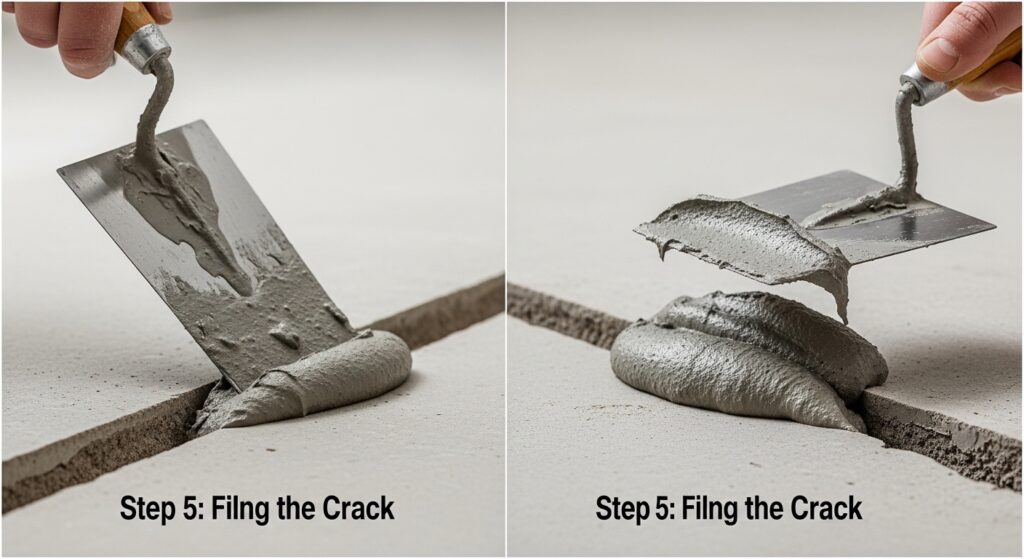
Step 3: Mix and Apply the Filler
Depending on the size of the crack, choose the appropriate filler:
- For Hairline Cracks: Use a pourable concrete sealer or hydraulic cement.
- For Wide Cracks: Use a concrete epoxy or polyurethane filler that comes in a cartridge for a caulk gun.
- If using a cartridge, cut the nozzle at a 45-degree angle to match the width of the crack.
- Fill the crack from the bottom up to avoid air bubbles.
- Slightly overfill the crack, as some fillers shrink slightly as they dry.
Step 4: Level and Smooth
Immediately after filling, use a putty knife or trowel to smooth the surface level with the surrounding floor.
- Pro Tip: Use painter’s tape on either side of the crack before applying the filler for a cleaner edge.
Step 5: Cure and Apply a Patch Compound (Optional)
If the crack was very deep, you may need to apply a second layer of filler after the first one dries. If the repair looks uneven, apply a thin layer of concrete patch compound over the area once the filler is fully cured.
4. Selecting the Right Filler
| Filler Type | Best Used For | Pros | Cons |
| Vinyl Concrete Patch | Shallow cracks and surface spalling. | Easy to use, cheap. | Not for structural repairs. |
| Polyurethane Filler | Deep cracks, areas with movement. | Flexible, waterproof. | Can be messy to apply. |
| Epoxy Repair Kit | Wide, structural cracks. | Extremely strong, bonds well. | Expensive, fast curing time. |
5. Protecting Your Repair (Sealing)
Once the repairs are fully cured (check the manufacturer’s instructions, usually 24–72 hours), it is highly recommended to seal the entire garage floor.
A high-quality concrete sealer protects the floor from oil stains, de-icing salts, and moisture penetration, significantly reducing the likelihood of future cracks.
Conclusion
Repairing cracks in a concrete garage floor is an essential maintenance task that prevents minor issues from becoming major, expensive problems. By thoroughly cleaning the crack, widening it for better adhesion, and choosing the correct filler, you can restore your garage floor’s durability and appearance for years to come.